Google Summer of Code 2018 with Debian - Week 1 and 2
Posted on Mon 28 May 2018 in GSoC
After I got the news of my selection in Debian for Google Summer of Code program, I've been exploring different domains in which one can contribute to Debian and hence making the community bonding phase as productive as it can get.
Community Bonding
For Debian, Mailing Lists are one of the primary means of communication among the contributors and maintainers of the community. It was also stated on the Debian's GSoC projects page that we students should be joining debian-outreach, debconf-announce, debian-announce and debian-devel-announce lists. debian-outreach list is for the communications mostly related Gooogle Summer of Code, Rail Girls Summer of Code and similar programs. One can always find lists as per their interests from the Debian Mailing Lists index.
Similarly, #debian-outreach and #debconf-discuss are the IRC few of the Debian IRC channels which were recommended. And is mostly filled with valuable conversations to follow. Even if you don't know where to begin in order to contribute, simply ask!
Before the Coding Phase, we had a Jitsi call with the mentors and students under one room in order to discuss and plan ahead. We also agreed on having a weekly call in the same room, the schedule for which was carefully picked up which took everyone's timezone into account. Sanyam Khurana, who is one of my mentors for this project is the only person I've known among all my mentors and fellow students from before. I've been learning from his work since we started meeting during meetups in Delhi NCR and he's generous enough to spare additional hours from his day in which we can meet and have healthy discussions about the project.
Design - The Beginning Of Everything
Since we are 3 folks working on the same project, mentors had a very important task of dividing modules among students which had to be atomic. Modules which were allocated were not final and open to discussion. These modules only gave an idea about the feature to be implemented, it's up to the student to plan accordingly with the help of the mentors and proceed with actual implementation. I began with working on the Design of the application.
Design Guidelines - The Palette
I like Coolors and have been using it for quite some time now. It's a go-to tool when you are exploring color palette for your project. I explored a bit and decided to go with 4 colors. 2 Solids and 2 variants of the original colors of my choice which can be seen below. Then I decided to pick fonts for the application from Google Fonts as it provides all the proper guidelines for the different use cases and licensing. I went ahead with Anton and Varela Round, both of which come with an Open Font License. I've also shared the raw SVG design in the blog which we'll also be using for our development process. In order for the font in the SVG to work, simply download both the fonts mentioned above and install them in your OS's font directory.
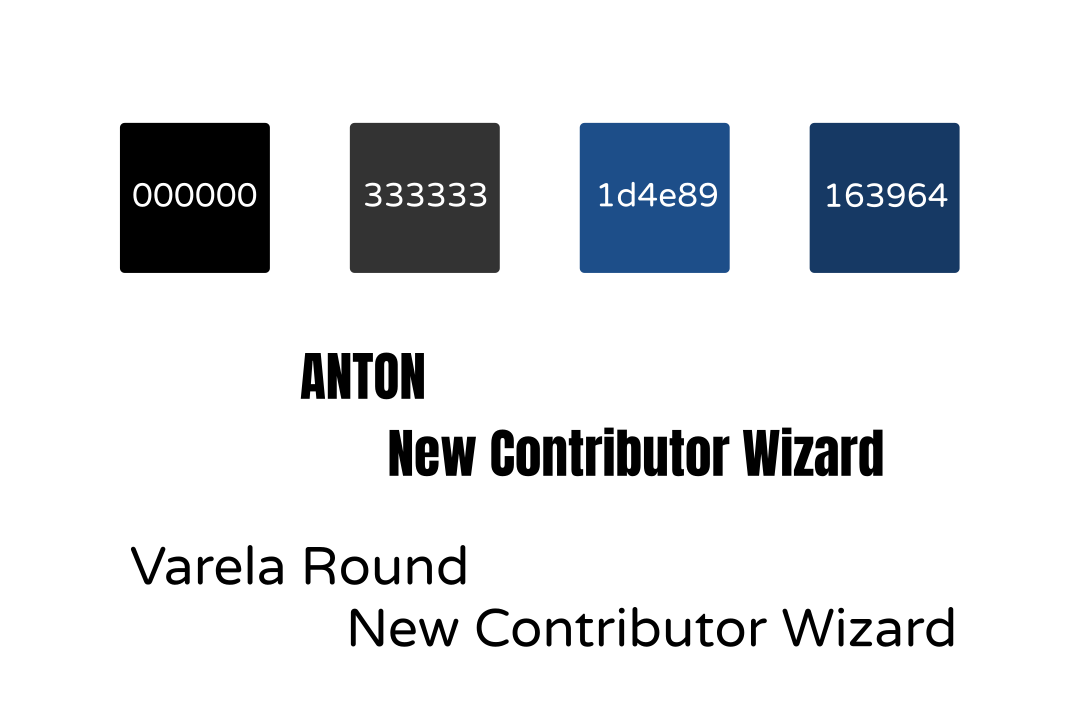
SVG Version of the above poster to play can be found here.
Design Guidelines - The Gradient
While contributing to Open Source Projects and Communities, it's important to embrace it with the rich history and resources they have given us mostly with a Go-Nuts license. This is the reason why I chose Inkscape for all my designing work. The beauty of picking up variants of colors is you can mix and match them in order to create beautiful gradients. So, I did! I used the two variants of the Blueish-like color selected earlier and created the gradient which can be seen below. The gradient is linear and two colors are selected for horizontal ends of the box.
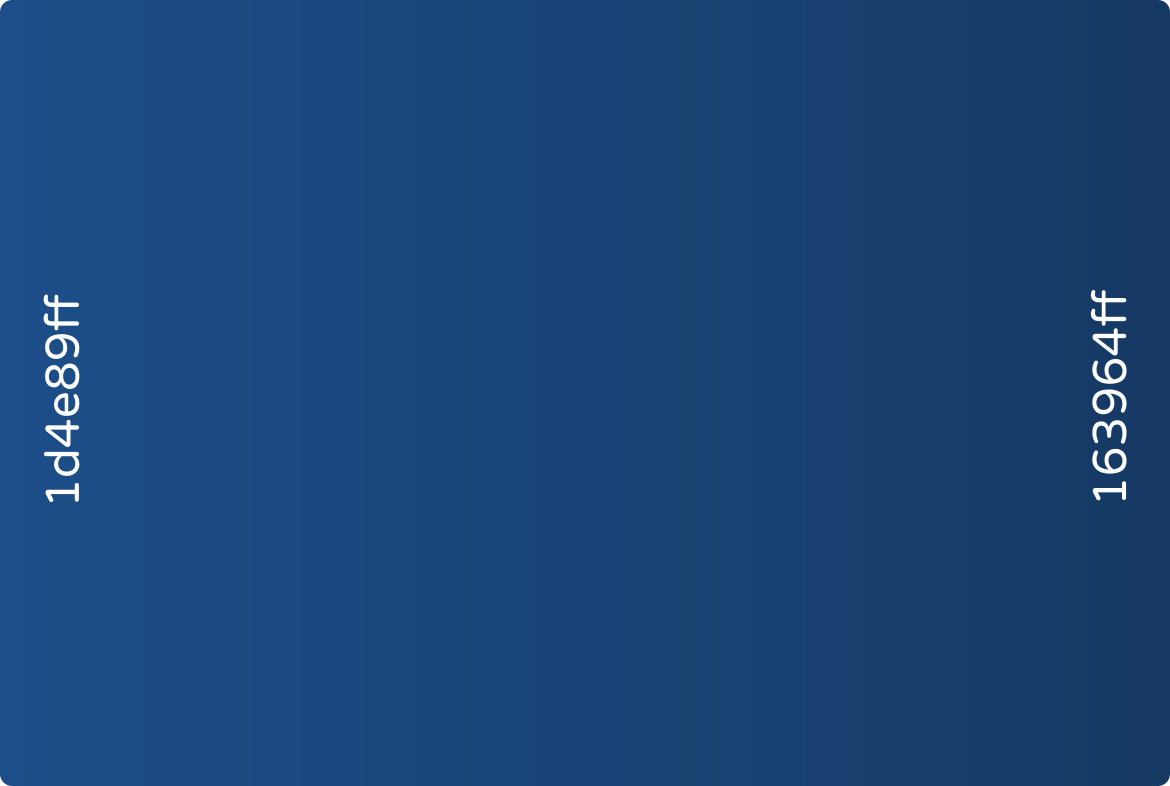
Now to create the main dashboard, I just needed a little imagination about which end point would be best for which gradient and here's the result. SVG version to play can be found here.

GUI - The Sign Up
Sign Up will probably be the first screen the user encountered on the application after installation. Here, user shares few important details about themselves which will be used to create an instance and persist user activity throughout the application. Using the same Dashboard I created the Sign Up screen as seen below. SVG version to play can be found here.
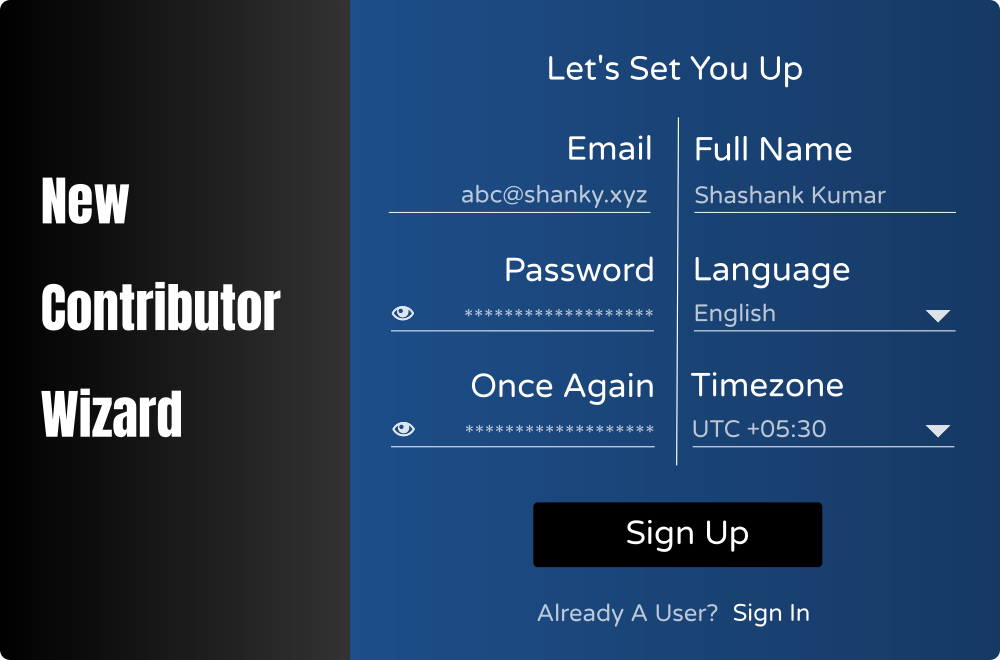
Additionally, I used Down Arrow Icon and Eye Icon in the design both of which are licensed with Creative Commons.
GUI - The Log In
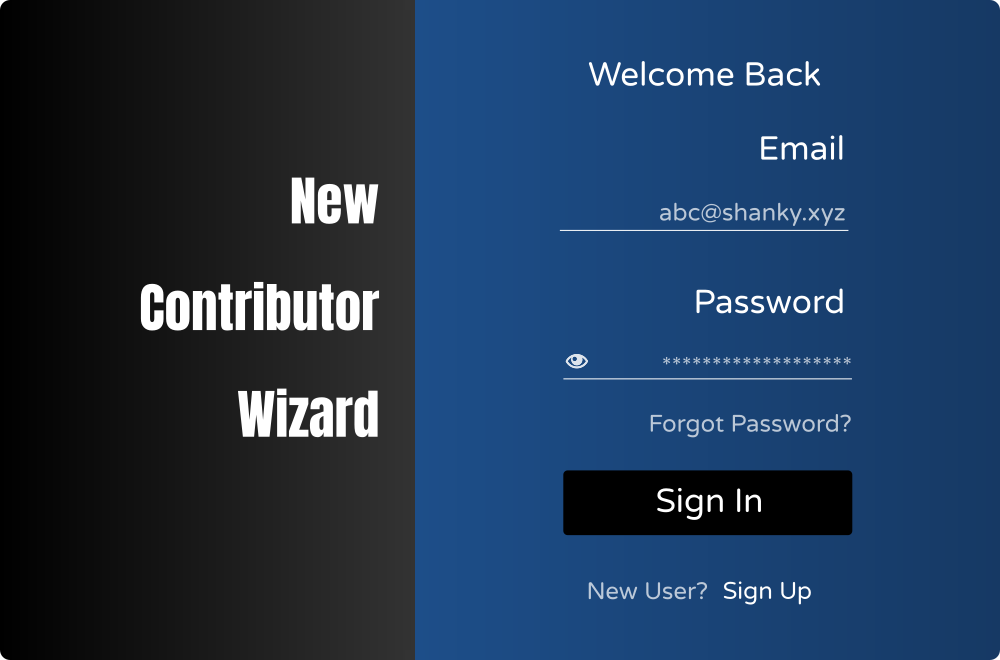
After when the user has signed up, they can Log In henceforth using their email address and password shared during the Sign Up process. You might notice that the partition between the Blackish and Blueish segment changes size between Sign Up and Log In. It would look cool if we are able to animate the size when user switches between the screens. SVG version to play of the Log In design can be found here.
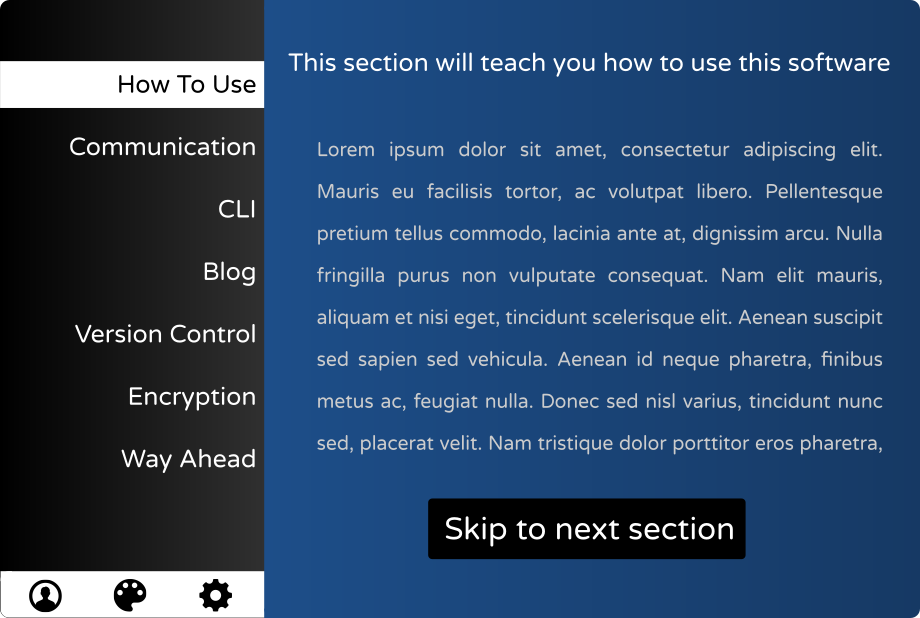
GUI - The Dashboard
Finally, after the user is authenticated, they are taken to the main screen of the application I'm calling Dashboard. On the Dashboard, one can find all the tutorials for the technology or concept available and also the tools mentioned. I extended the design to include a panel on the left segment. This panel contains options to view and modify configurations for the application. The Profile Icon can be used to give user option to change details about themselves. The Paint Icon can be used to allow the user to change the application theme. The Gear Icon can be used to provide additional application specific settings like language choice, updates etc. SVG version to play of the design below can be found here.
Conclusion
These designs will now be used to implement the GUI of the application. The designs are open to modification to fit the need of the application. We're using a Debian hosted Redmine to manage our project and I've created few issues to implement design in code with proper tests and documentation. This is the highlight of what I've been doing for the first couple of weeks and I'll continue to share updates via my blog in future as well.